Framosik




Note: As open-source software, it can also be distributed and modified by others. For a safer experience, we recommend downloading it through Bugzinho’s official channels. These versions undergo manual testing and AI-assisted analysis, with a focus on quality and user safety.
Turn a panning GIF or video into one image with Framosik

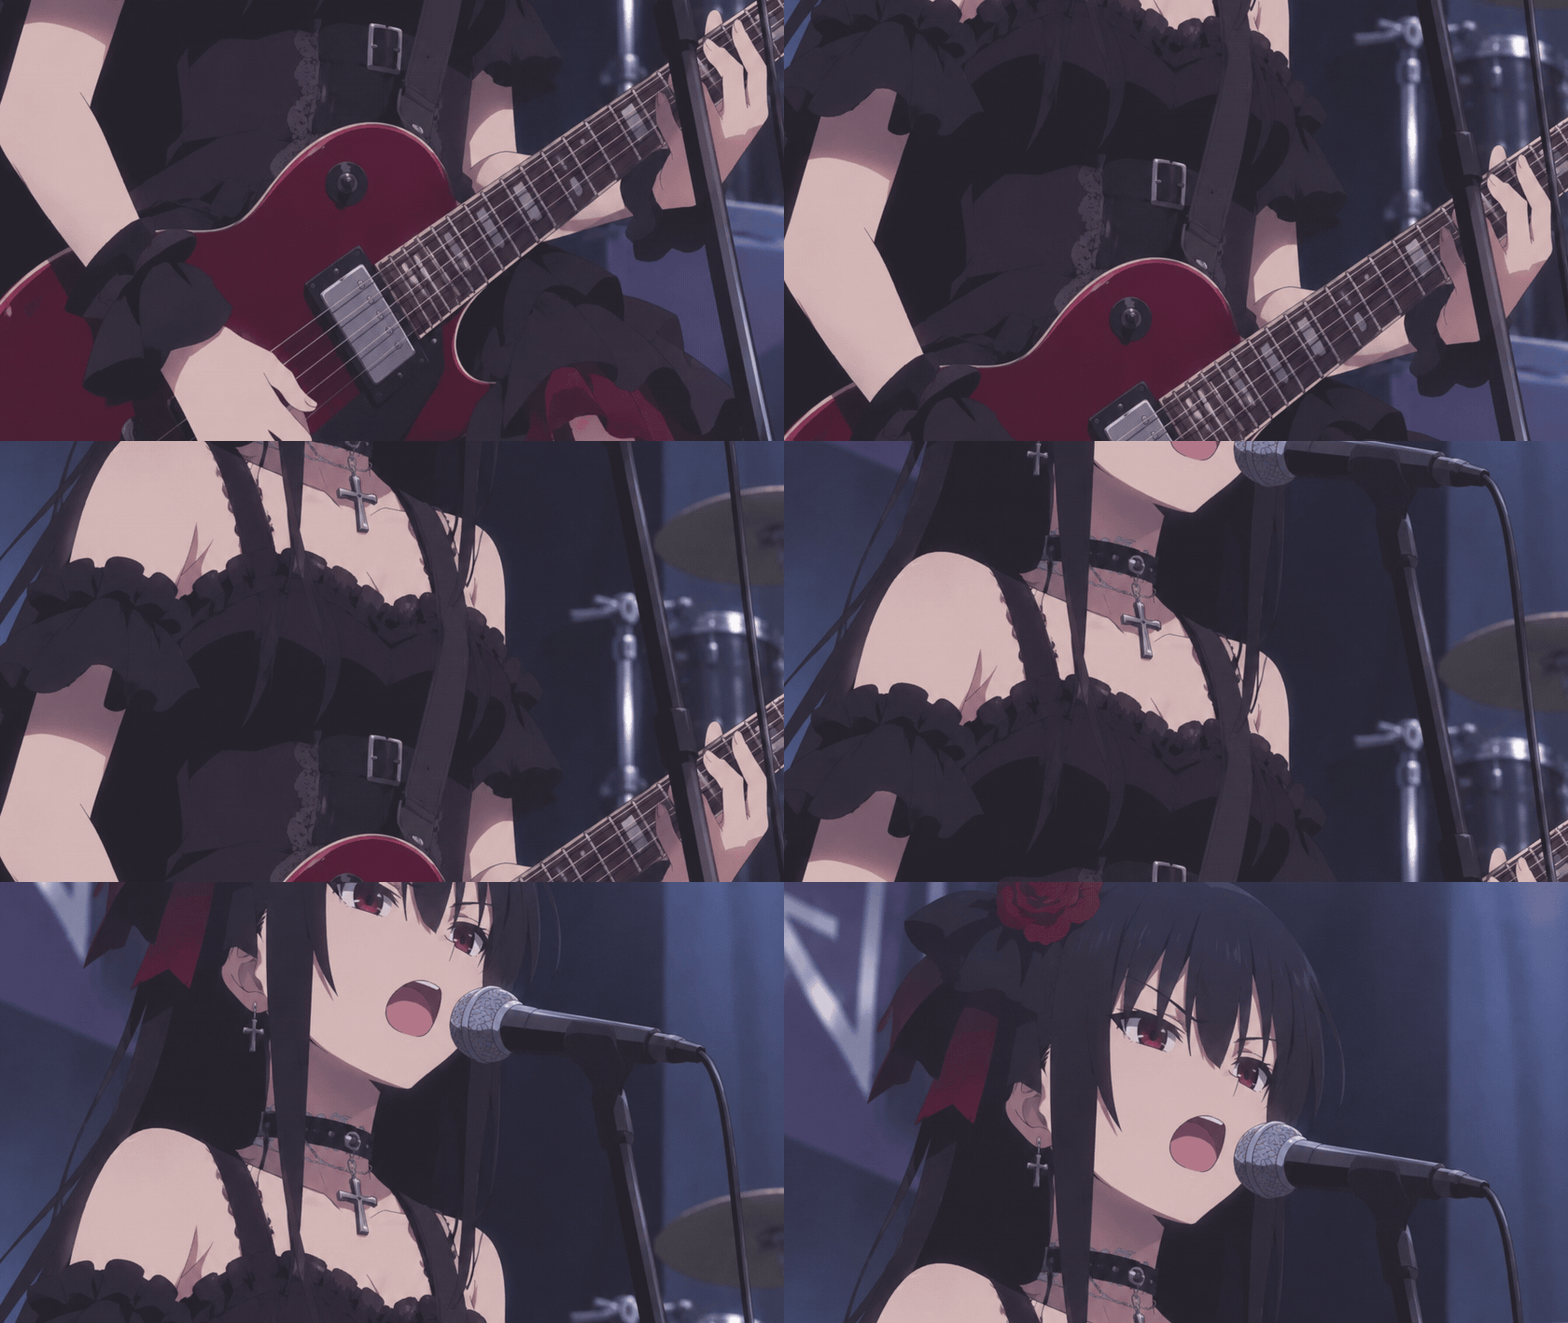
Ever pause an anime shot just as the camera reaches a character’s face, only to realize their boots have already slipped off the screen? That’s the kind of shot I’d try in Framosik. If the drawing comes into view a little at a time, you can piece it together and keep a full-length portrait as a single PNG.
Say one frame shows the boots and a belt, and the next shows the belt and a jacket. The buckle appears in both, so you can tell where the jacket belongs. Framosik looks for shared details like that, lines up neighboring frames, and adds the newly visible part. It works especially well when the drawing stays still and the camera does the moving.
Try it with the robot GIF
Pick the start and end of the camera move
I’d start with demo_vertical.gif in the examples folder that comes with Framosik. Choose Open GIF / video, open the GIF, and drag the timeline slider. The first frame shows the robot’s feet. By frame 30 you can see its head, but its legs have slipped out of view. Select frames 1 through 37 and leave the frame step at 1 to use them all.
For your own video, find the beginning of the move and click Set start. Go to the last frame before the shot changes and click Set end. That lets you work with just a few seconds from a whole episode or a long recording.

Choose how the frames meet
For the robot, select Vertical only, keep Working resolution at 100%, and start with Preserve existing. This keeps pixels that are already in place. It’s a handy choice for artwork with crisp outlines, like the edge of the robot’s visor.
In another shot, you might spot a thin stripe across what should be a single wall color. That’s a good time to try Soften seams. Feather width controls how far the transition extends where frames meet. In the screenshot below it’s set to 24 pixels.

Watch the picture grow and save your PNG
Click Stitch image and watch the Stitched image tab. The feet stay in the preview as the rest of the robot comes into view above them. All 37 frames, each 480 × 360 pixels, fit together into a single 480 × 1080 portrait. Click Export PNG when you’re happy with it.

Three more shots to try
A whole street from a side-scrolling game
Picture a level where the camera passes a bakery, a square, and a train station. If the storefronts all slide across the screen together, choose Horizontal only to make one wide view of the street. If the score stays pinned to the top of the screen, use Crop borders / subtitles to trim that strip from each frame before stitching.
A diagonal route across an RPG map
Imagine recording your screen as you drag a map from a village in the bottom left to a bridge in the top right. Choose Free (X and Y) so Framosik can follow the movement along both axes. Keep the map at the same scale and pass landmarks you can recognize in neighboring frames, like a bend in a river or a tower.
An illustration that starts in close-up
Suppose the shot starts on a dragon’s eye and pulls back to reveal its wings. The eye changes size from one frame to the next. Try Zoom + X/Y (experimental) and keep the frame step at 1. Take a look at the wings in the finished PNG. If they only appear in the wider shot, they may have less detail than the eye you saw up close.
example scene
Result

Frequently asked questions
Which files can I open?
Framosik opens animated GIF and WebP files and videos in formats such as MP4, MKV, AVI, MOV, WebM, and M4V. A still PNG or JPEG opens as a single frame. Video support depends on the codec used for the recording. If a video won’t open, try a copy saved as an MP4 with H.264 video.
What if the character blinks or turns their head?
The background can line up beautifully while the face ends up with a double outline. An open eye and a closed eye occupy the same spot at different moments. Try ending the selection just before the blink or starting it just after. If the camera cuts to another shot, stitch each shot separately.
Why did stitching stop partway through?
Check the log to see which frame it stopped on. If that frame was rejected, compare it with the last accepted one. A stretch of empty sky or a sudden jump in the camera move can leave too little detail in common. Try a frame step of 1 or shorten the range to the last recognizable landmark. You can also export the part already stitched.
Can I soften the stripes in a zoom shot?
Inspect the stripe at Zoom 100%. Once stitching finishes, the Finishing panel becomes available on the left. Try a low Smoothing value for a hard seam or a little Local color repair for a band that’s a different shade. Select Apply to preview to see the change. To compare it with the original stitch, set both controls to zero and apply again.
Why does my PNG have transparent corners?
Think back to that diagonal trip across the map. The camera covered a slanted strip, but the file itself is rectangular. Corners that the camera never visited stay transparent. If you want to use the result as wallpaper, crop a rectangle inside the filled area after you export it.
Is there a quicker way to try a long clip?
Start with a short range and lower Working resolution for the trial run. Once you like the alignment, set it back to 100% and stitch the range you want to keep at full detail. Zooming the preview only changes how big the picture looks on screen.
Do I need Python or an internet connection?
The Windows x64 and Linux x86_64 packages include what Framosik needs to run. Extract the whole folder and launch the app. Reading the frames, stitching, and exporting all happen on your own computer, so you can work offline.
Can I change the interface language?
Yes. Open Appearance and use Language to choose from ten interface languages, including English and Brazilian Portuguese. That’s also where you can switch between light and dark themes or turn off animations if you prefer a quieter workspace.
More about Framosik
The tutorial included with the app walks through each control in more detail. You can also explore other projects at Bugzinho.com or support Framosik’s development.